Get the Most out of This Course
In this course, you will see all the basics of the Python language needed before you can start working with and analyzing data.
This course will include several coding activities that will let you test the various concepts learned. For this you will need to set up your environment as detailed below.
Discover Python
Python is a general-purpose programming language, meaning that you can code just about anything in it: websites and applications, mobile apps, personal scripts, desktop applications, data analysis, and even video games!
For example:
Instagram is coded in Python.
It is one of the main languages used by Google engineers.
Netflix uses Python to build its recommendation algorithms.
The Dropbox desktop application is developed in Python.
Reddit is coded in Python.
When it comes to data, Python is the most widely used language, especially for data processing and manipulation, data visualization, and artificial intelligence algorithm development.
There are various distributions of Python that you can use to get going. Below, we introduce you to two options: Google Colab and Anaconda. Google Colab is the easiest option to start with as it does not require you to install anything on your computer.
Use Python in the Cloud via Google Colaboratory (Colab)
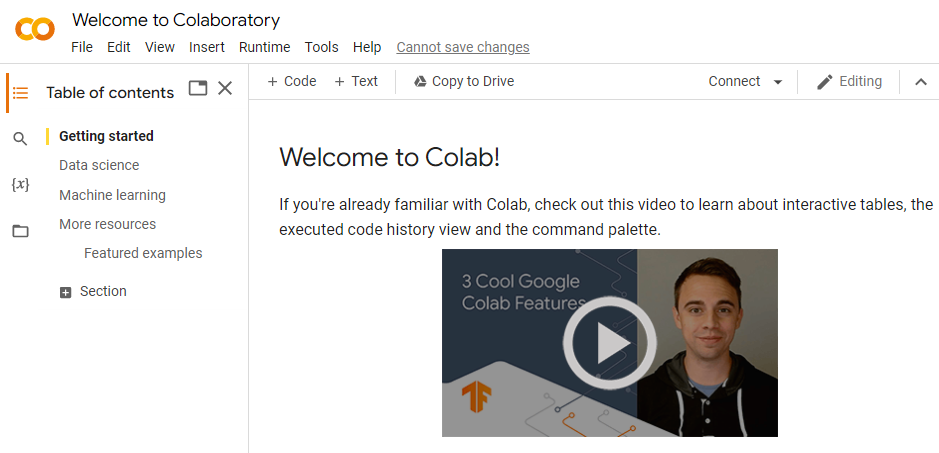
If you don't want the trouble of installing software on your computer, you can use Python in the Cloud, via Google Colaboratory. This is a product from Google Research allowing anyone to write and execute Python code within a Jupyter Notebook, through a web browser (Chrome, Safari, Firefox, etc.). This is what we will use throughout this course to let you practice!
No installation is required, you can access it from any machine (as long as it has an internet connection) because all files are stored and run on Google's servers. You need to have a Google account, so set one up if you don’t have one. Then you just have to go to the main Colab page, create a new notebook and... TADAAAA!!!

You have launched your first Jupyter Notebook and are ready to continue learning more about this tool in the next chapter.
Install Python via Anaconda
As an alternative to Colab you can install Anaconda, to give you total control of your development environment on your own computer. Anaconda is a scientific distribution of Python, meaning that when you install Anaconda, you will install Python, Jupyter Notebook (which we will present in more detail in the next chapter), and dozens of scientific packages, some of which are essential for data analysis!
To start, download the Anaconda distribution corresponding to your operating system from here: https://www.anaconda.com/distribution/
Install Anaconda on Windows or Mac
Download the Windows or macOS installer and double-click to start the installation.
Answer the different questions (the default options are enough!). Once the installation is complete, you can check that it went well by launching the Jupyter Notebook application.
Install Anaconda on Linux
Download the installer for Linux.
Enter the following statement in the terminal, replacing ANACONDAINSTALLER with the name of the file downloaded:
bash ~/Downloads/ANACONDAINSTALLER.sh
The installer will print: “In order to continue the installation process, please review the license agreement.” Click to see the license agreement, stroll to the bottom and click
yesto accept.Answer "yes" if you see the following question:
Do you wish the installer to prepend the Anaconda3 install location
to PATH in your /home/ec2-user/.bashrc ? [yes|no]
Answer “yes” if you see the following question:
Do you want the installer to initialize Anaconda3 by running conda init? [yes|no]
The previous commands added the path (the folder) to the .bashrc file where Anaconda is located. So, you will be able to launch Anaconda directly by just typing "anaconda" in your console! This operation will take effect when your computer restarts, or as soon as you run this command:
source .bashrc
Check that everything went well by running the Jupyter program (see below).
Launch Jupyter
On macOS, launch Anaconda Navigator via Launchpad.
On Linux, open a console and run:
anaconda-navigator.On Windows, launch Anaconda Navigator from your Start menu.
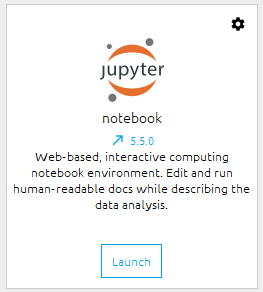
Once this is done, you will have several applications at your disposal. You are interested in the one called Jupyter Notebook:

Click on the Launch button and a new tab will appear in your browser session:

Now that you have Anaconda and Python installed, you'll be introduced to one of the most widely used programming tools in data analysis. Easy to use, practical, and powerful, you will soon get to grips with Jupyter Notebook.

